
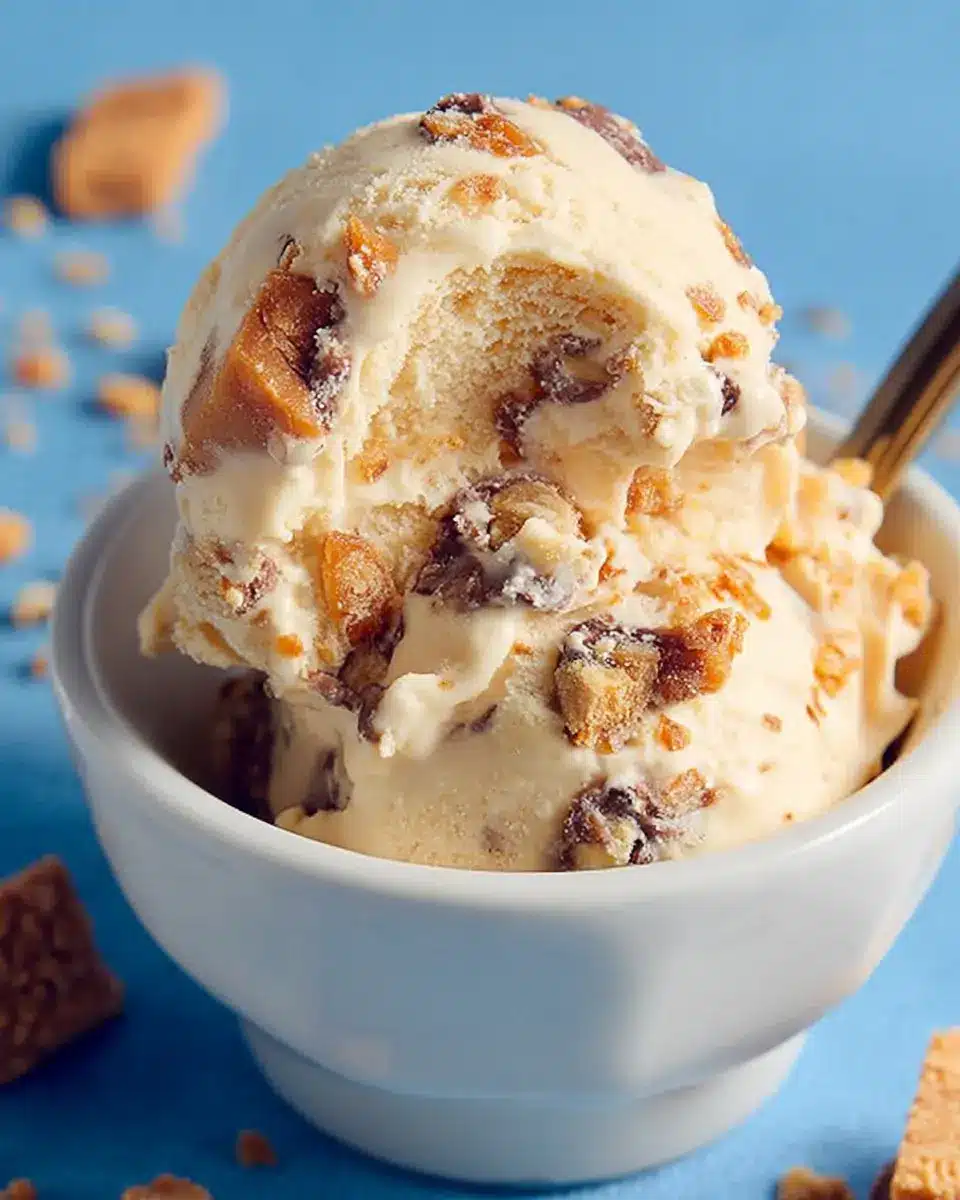
Introduction to Homemade Butterfinger Ice Cream
Why Make Homemade Ice Cream?
There’s something profoundly satisfying about making your own homemade butterfinger ice cream. Not only do you have complete control over the ingredients—no preservatives or weird additives—but you also get to customize flavors to suit your cravings. The process can be a fun kitchen adventure, a perfect way to impress friends or simply unwind after a long day. Plus, who wouldn’t love to dig into a tub of creamy, rich ice cream made right at home? Making ice cream from scratch has become a beloved pastime for many, allowing for creativity and delicious outcomes.
The Nostalgic Delight of Butterfinger
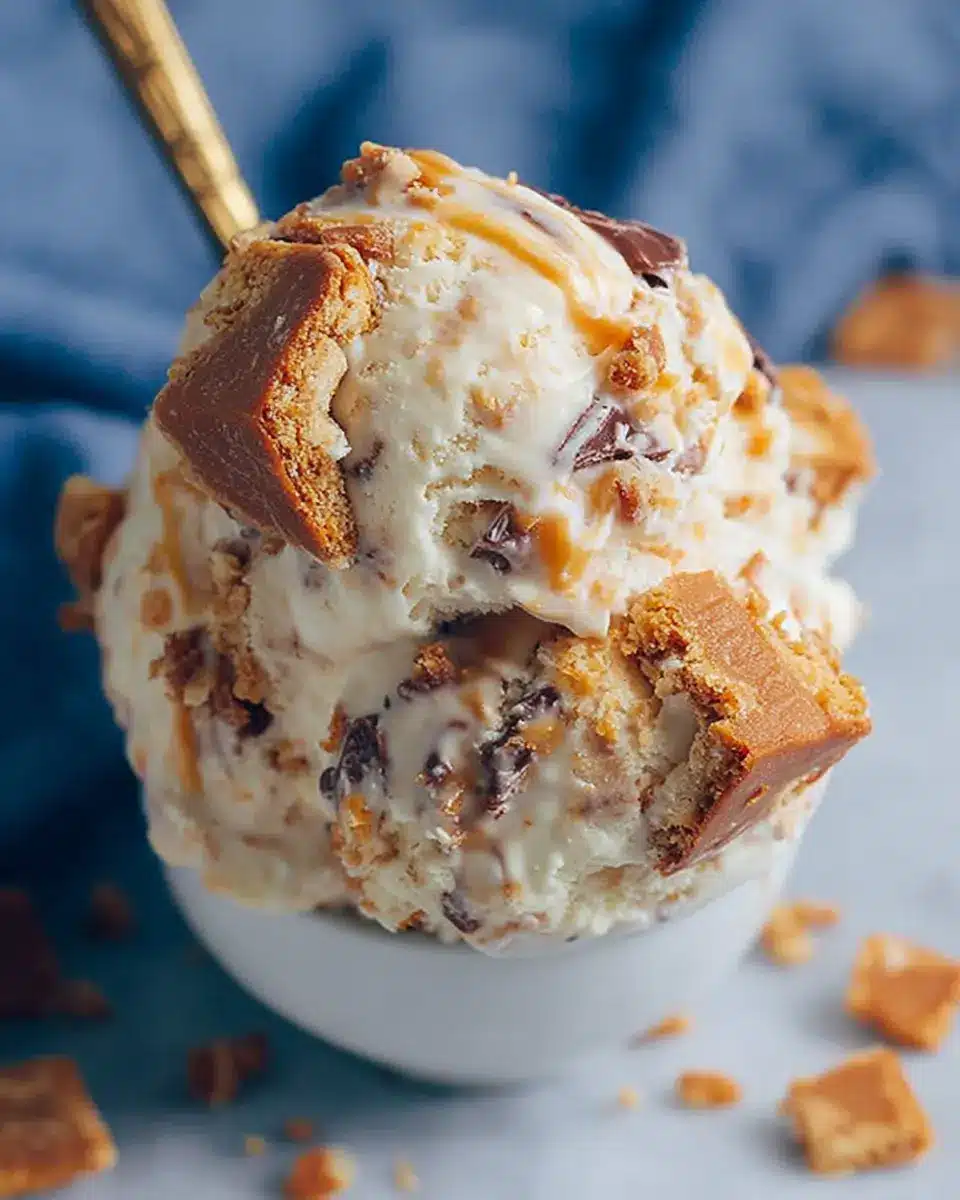
Remember those happy childhood days, unwrapping a cold, crunchy Butterfinger after school? That delightful combination of creamy peanut butter and crispy candy is enough to make anyone smile. By turning this nostalgic treat into homemade ice cream, you can relive those moments with every spoonful. The vibrant flavors combined with the satisfying crunch of Butterfinger pieces bring a unique twist to classic vanilla ice cream. Every bite of your homemade creation is sure to evoke joyful memories, making it a perfect dessert for both young and old. For more ice cream recipes, check out Serious Eats and explore how homemade treats can bring joy to everyday life.
Now that you’re inspired, let’s dive right into the recipe for homemade Butterfinger ice cream!
Ingredients for Homemade Butterfinger Ice Cream
Essential ingredients for creamy ice cream
Creating homemade Butterfinger ice cream starts with a base that ensures a rich and creamy texture. Here’s what you'll need:
- 2 cups whipping cream: This is key for that luxurious, creamy mouthfeel.
- 1 can (12 oz) evaporated milk: This adds a slightly caramelized flavor and enhances creaminess.
- 1 can (14 oz) sweetened condensed milk: It brings sweetness and a velvety texture.
- 4 cups milk: Use whole milk for the best results.
- 1 small pkg. instant vanilla pudding: This acts as a stabilizer and adds flavor.
- ¾ cup sugar: To sweeten the mix perfectly.
- 2 teaspoons vanilla: Pure vanilla extract provides authentic flavor.
The magic of Butterfinger chunks
No homemade Butterfinger ice cream is complete without the iconic crunchy bits of Butterfinger.
- 6 (1.9 oz) Butterfinger candy bars, crushed: These caramel, peanut butter, and chocolate bars contribute a delightful crunch and bursts of nostalgia in every bite.
Pro tip: For an extra special treat, save a couple of Butterfingers to toss into the mix after the ice cream is almost done freezing. It ensures those larger chunks are perfectly preserved, offering satisfying bites of crispy goodness in your ice cream!
For more tips on enhancing your ice cream, check out Food Network for inspiration.
Preparing Homemade Butterfinger Ice Cream
Making your own homemade Butterfinger ice cream can be a delightful kitchen adventure! Not only do you get to customize the flavor to suit your taste, but the satisfaction of creating your own dessert is unmatched. Let’s break down the steps so you can whip up this creamy, crunchy treat in no time.
Gather Your Ingredients
Before diving into the mixing bowl, make sure you have everything you need. You'll want to have:
- 2 cups whipping cream
- 1 can (12 oz) evaporated milk
- 1 can (14 oz) sweetened condensed milk
- 4 cups milk
- 1 small package instant vanilla pudding
- ¾ cup sugar
- 2 teaspoons vanilla extract
- 6 Butterfinger candy bars, crushed
Having these ingredients ready to go will make the process smoother. You can find most of these at your local grocery store, or if you're feeling adventurous, try sourcing ingredients from a specialty shop to elevate your ice cream-making game!
Mix the Base Ingredients
Once you have gathered your ingredients, it’s time to blend them. In a large mixing bowl, combine the whipping cream, evaporated milk, condensed milk, and regular milk. Add the instant vanilla pudding, sugar, and vanilla extract to the mixture. Whisk everything until it’s well-blended and creamy—this is the heart of your homemade Butterfinger ice cream.
Pro Tip:
Use a whisk or electric mixer to ensure all the ingredients are fully incorporated. The smoother the mixture, the creamier your ice cream will be!
Crumble Those Butterfingers
Now comes the fun part! Take those Butterfinger bars and crumble them into bite-sized pieces. You can either use your hands for a rustic feel or place them in a zip-top bag and crush them with a rolling pin for a more uniform texture.
Keep a few larger chunks aside to add into the mixture later—these will provide delightful surprises in every scoop of ice cream.
Freeze the Mixture
Once your base is ready and your Butterfingers are crumbled, pour the mixture into your ice cream maker. Follow your machine’s instructions for freezing, which typically takes around 20-30 minutes. During this time, the mix will take on a fluffy, ice cream texture.
The Final Churn and Fold
Once the base is frozen, it’s time to do a final blend. If you reserved larger chunks of Butterfinger, gently fold them into the ice cream now. This will ensure that every bite is packed with that delicious crunch.
Now, transfer your homemade Butterfinger ice cream to an airtight container and freeze it for a few hours until fully set. Whether you're enjoying it on its own or alongside a slice of pie, this homemade delight is sure to please anyone with a sweet tooth. Enjoy your creation and get ready for compliments from all who get a taste!
For a deeper dive into ice cream making, consider checking out America's Test Kitchen’s guide on various ice cream techniques. Happy churning!
Variations on Homemade Butterfinger Ice Cream
Butterfinger and Peanut Butter Swirl
For those who can't resist the allure of peanut butter, why not elevate your homemade Butterfinger ice cream with a tasty swirl? Simply add a generous ribbon of creamy peanut butter to the mixture before the final freeze. For an extra crunch, fold in some crushed Butterfinger pieces to create a delightful contrast between smooth and crunchy textures. Your taste buds will thank you!
Dairy-Free Butterfinger Ice Cream Option
Got dairy sensitivities? No problem! You can easily create a dairy-free version of this delightful treat. Substitute the whipping cream with coconut cream and use almond or oat milk in place of regular milk. Don’t forget to check the labels on your Butterfinger bars for dairy-free options or try chocolate-covered rice paper for a similar flavor. With this alternative, everyone can enjoy a scoop of your delicious ice cream!
Cooking Tips and Notes for Homemade Butterfinger Ice Cream
Achieving the Perfect Creamy Texture
To achieve the perfect creamy texture in your homemade Butterfinger ice cream, ensure that your whipping cream is very cold before mixing it in. This can help to incorporate more air while churning, leading to a delightful scoop. Using a mix of heavy cream and milk creates that creamy richness, while the instant pudding helps stabilize the mixture, preventing ice crystals. For an extra treat, consider letting the ice cream base chill in the fridge for an hour before churning—it makes a noticeable difference!
Storing Your Homemade Ice Cream
When it comes to storing your homemade Butterfinger ice cream, always use an airtight container to prevent freezer burn. It’s best to press a sheet of plastic wrap directly against the surface of the ice cream before sealing the lid. This method locks in moisture, keeping your ice cream smooth and creamy. If you plan to enjoy your ice cream later, try to consume it within two weeks for the best taste and texture. For more storage tips, check out this helpful guide on ice cream preservation.

Serving suggestions for Homemade Butterfinger Ice Cream
Presentation ideas for fun summer gatherings
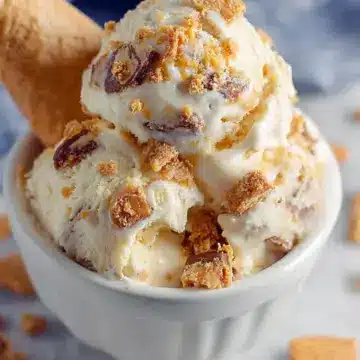
Enhance your homemade Butterfinger ice cream experience by serving it in playful waffle cones, or create stunning sundae cups. Layer your ice cream with fudge, whipped cream, and crushed Butterfinger bits for an eye-catching dessert table centerpiece. Don’t forget colorful sprinkles or edible flowers to brighten up the presentation.
Pairing with other desserts or toppings
Looking for the perfect accompaniments? Pair your homemade Butterfinger ice cream with warm chocolate brownies or a slice of rich chocolate cake for an indulgent treat. Add toppings like caramel sauce, peanuts, or even a drizzle of peanut butter for a delightful texture contrast. The flavor combinations are endless, making it a hit at any summer gathering. Check out this guide for more dessert pairing ideas!
Time Breakdown for Homemade Butterfinger Ice Cream
Preparation Time
Getting your homemade Butterfinger ice cream started only takes around 10 minutes. You’ll be whipping together a delightful mix of cream, milk, and of course, those sweet, crunchy Butterfinger bars. Easy peasy!
Freezing Time
Once you've combined all your ingredients, you'll need to let your ice cream freeze for about 3 hours. During this time, it will transform from a liquid mix to a creamy, dreamy frozen delight.
Total Time
In total, you’ll be looking at approximately 3 hours and 10 minutes to enjoy this delicious treat. The wait is definitely worth it, especially when you take that first creamy bite! If you want to tailor this recipe, consider checking out other great ice cream ideas from sources like Serious Eats or The Kitchn.
Now, who’s ready for some homemade Butterfinger ice cream?
Nutritional facts for Homemade Butterfinger Ice Cream
When you're indulging in homemade Butterfinger ice cream, it's good to know what you're treating yourself to:
Calories per serving
Every creamy scoop contains approximately 300 calories, making it a sweet yet sensible treat when enjoyed in moderation.
Sugar content
Each serving packs about 22 grams of sugar, primarily from the Butterfinger and sweetened condensed milk, so it’s a decadent dessert worth sharing!
Key nutrients
This delightful ice cream isn't just about sweetness; it's also a source of:
- Calcium: Supports strong bones
- Vitamin A: Essential for vision and skin health
- Protein: Contributes to muscle maintenance
For more detailed nutritional breakdowns, consider checking out resources like USDA FoodData Central. Use these insights to enjoy your homemade Butterfinger ice cream as a well-deserved treat that fits beautifully into an active lifestyle!
FAQs about Homemade Butterfinger Ice Cream
Can I make this without an ice cream maker?
Absolutely! If you don’t have an ice cream maker, don’t worry. You can pour the mixture into a freezer-safe container and freeze it. Every 30 minutes, stir the mixture vigorously with a fork to break up ice crystals, until it reaches your desired consistency. This method takes a bit longer but results in delicious homemade Butterfinger ice cream.
How long can I store homemade ice cream?
Homemade ice cream can typically be stored in the freezer for about 2 to 3 weeks. To maintain its creamy texture, keep it tightly sealed in an airtight container. You might want to consider using parchment paper between the ice cream and the container lid to prevent ice crystals from forming.
What are some tips for perfect texture?
- Chill Ingredients: Before you mix them, make sure all your ingredients are refrigerated.
- Use Heavy Cream: Full-fat options yield a richer texture.
- Avoid Overfilling: Leave some space in the container to allow for expansion as it freezes.
Try these tips, and you'll be enjoying the velvety goodness of your homemade Butterfinger ice cream in no time!
Conclusion on Homemade Butterfinger Ice Cream
In conclusion, this homemade Butterfinger ice cream recipe is a delightful treat that combines creamy vanilla goodness with crunchy Butterfinger pieces. Perfect for warm days or any festive gathering, it’s sure to impress your friends and family. Don’t hesitate to personalize it with your favorite add-ins for a twist!
Homemade Butterfinger Ice Cream
Equipment
- 4-quart ice cream maker
Ingredients
Base
- 2 cups whipping cream
- 12 oz evaporated milk 1 can
- 14 oz sweetened condensed milk 1 can
- 4 cups milk
- 1 small pkg instant vanilla pudding
- ¾ cup sugar
- 2 teaspoons vanilla
Candy
- 6 1.9 oz Butterfinger candy bars crushed
Instructions
Preparation
- Combine all ingredients into the ice cream canister of a 4 quart ice cream maker, mix well.
- Freeze in ice cream freezer according to manufacturer’s directions.

Leave a Reply