
Introduction to Roasted Butternut Squash
Why Roasted Butternut Squash is a Game-Changer for Young Professionals
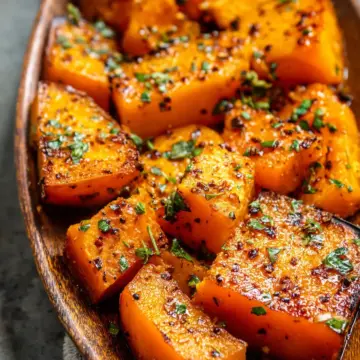
If you’re a busy young professional juggling work, social life, and self-care, roasted butternut squash might just become your new best friend in the kitchen. This nutrient-packed vegetable is not only versatile but also incredibly easy to prepare and cook. Imagine coming home after a long day, and within a few minutes, you can have a delicious dish ready by simply roasting some butternut squash.
Rich in vitamins A and C, fiber, and antioxidants, butternut squash is an excellent addition to your diet (Healthline), supporting both your immune system and digestive health. Just toss it in some olive oil, spices, and pop it in the oven! It’s a one-pan wonder that evokes comforting vibes while being light on prep and clean-up.
Think about how roasted butternut squash can elevate your meals—serve it as a side dish, blend it into a soup, or even toss it into salads for an extra flavor punch. Plus, it’s perfect for meal prep: cook a big batch on Sunday, and you’ll have deliciousness ready all week. Embrace this game-changer and let it simplify your culinary routine!
Ingredients for Roasted Butternut Squash
Key ingredients you’ll need
To create the perfect roasted butternut squash, you'll need just a few essential ingredients:
- 1 large butternut squash (about 3 pounds), peeled, seeded, and cut into 1-inch cubes
- 1 ½ tablespoons extra-virgin olive oil
- 1 ½ tablespoons pure maple syrup
- 1 ¾ teaspoons kosher salt (important to not use table salt)
- ¾ teaspoon ground cinnamon
- ½ teaspoon ground black pepper
- 1 tablespoon chopped fresh rosemary
These ingredients not only complement each other but also enhance the natural sweetness and earthy flavors of the butternut squash.
Importance of using fresh and high-quality components
Using fresh and high-quality ingredients is crucial to achieving that delicious flavor in your roasted butternut squash. Fresh butternut squash ensures a rich, sweet taste and perfect texture, while high-quality olive oil and pure maple syrup add depth and a hint of caramelization during roasting. When you prioritize quality, you're not just cooking; you’re creating an experience! If you’re curious about the benefits of using organic ingredients, check out this insightful article on fresh produce.
In short, investing in excellent ingredients will make your dish shine and keep your friends and family coming back for seconds!
Preparing Roasted Butternut Squash
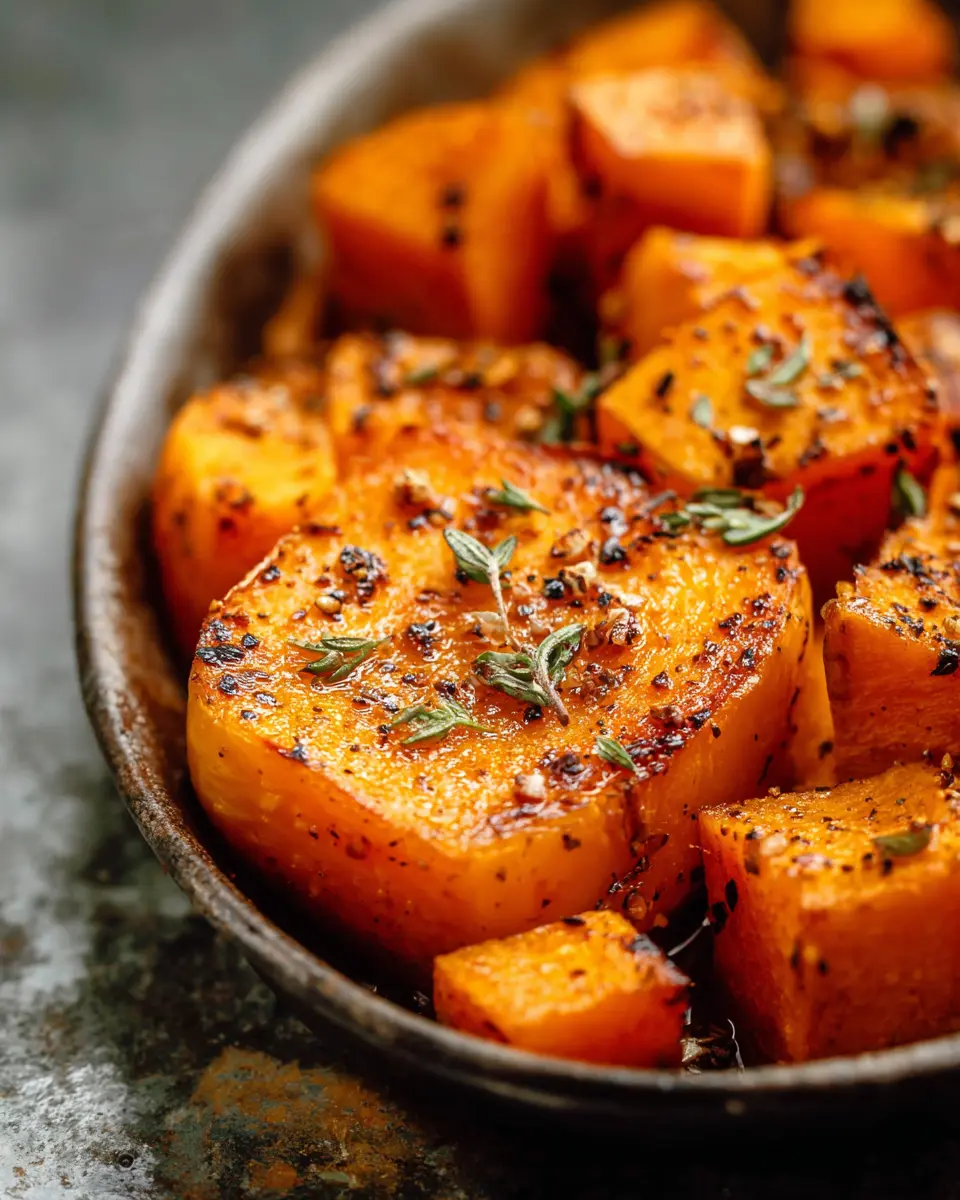
When that crisp fall air hits, there’s nothing quite like the warm, sweet, and savory flavors of roasted butternut squash to cozy up your kitchen. Not only is this dish delicious, but it’s also incredibly simple to prepare. Here’s how to get your roasted butternut squash from the countertop to your table in just a few easy steps.
Selecting and prepping the squash
Choosing the right butternut squash is essential for a flavorful dish. Look for squash that has a smooth, tan skin with minimal blemishes and feels heavy for its size. Once you’ve selected your squash, it’s time to prep it. Start by washing the exterior thoroughly. You’ll then want to slice off the stem and the blossom end. After that, carefully peel the skin with a vegetable peeler or a sharp knife. Halve the squash and scoop out the seeds—keep these for roasting later if you like a crunchy snack!
Chopping it perfectly
Now that your squash is prepped, it’s time to chop it. Aim for uniform cubes of about one inch. This ensures even cooking and caramelization. Using a cutting board, slice the squash into manageable sections before chopping. If you find it difficult to cut through the tough outer skin, microwave the whole squash for a minute or two to soften it slightly before slicing.
Mixing the ingredients
In a large bowl, it’s time to create that yummy flavor base. Toss the cubed squash with about 1.5 tablespoons of extra-virgin olive oil and 1.5 tablespoons of pure maple syrup. Then, sprinkle in 1¾ teaspoons of kosher salt, ¾ teaspoon of ground cinnamon, and ½ teaspoon of ground black pepper. A quick toss will coat the squash evenly, allowing those flavors to penetrate every bite.
Arranging on baking sheets
For optimal roasting, arrange the seasoned squash cubes in a single layer on a baking sheet. It’s best to use two sheets if necessary to avoid overcrowding, as this will help them caramelize beautifully. If you have parchment paper on hand, feel free to line the sheets for easy cleanup!
Roasting to perfection
Set your oven to 400°F and place your baking sheets on the upper and lower racks. Roast the squash for about 15 minutes, then give it a good toss with a spatula to ensure even cooking. After turning, switch the pans’ positions for consistent browning. Keep an eye on your squash—after another 10 to 15 minutes, it should be tender and beautifully caramelized. Sprinkle with fresh rosemary just before serving to add a fragrant touch.
With these simple steps, you’ll soon have a lovely batch of roasted butternut squash that not only complements your meals but also warms your heart during those chilly days! For more tips on preparing fresh vegetables, check out this resource on seasonal produce.
Enjoy your cooking adventure!
Variations on Roasted Butternut Squash
Savory Herbs and Spices Twists
Elevate your roasted butternut squash by experimenting with various savory herbs and spices. Try adding garlic powder, smoked paprika, or a sprinkling of cumin for a warmer flavor profile. Fresh thyme or sage can also lend a delightful earthiness, making your squash perfect for fall and winter dishes. If you're feeling adventurous, mix in a dash of chili powder for some heat or add finely chopped turkey bacon for a smoky crunch!
Sweet Alternatives & Flavor Combinations
For a sweeter twist, consider drizzling maple syrup over your roasted butternut squash or tossing it with brown sugar and nutmeg. Pairing it with dried cranberries or pomegranate seeds not only adds sweetness but also a lovely pop of color. Don't forget the option of mixing in crushed pecans or walnuts to give a satisfying crunch! For inspiration, check out this sweet potato recipe that perfectly complements the flavors of squash.
Cooking Notes for Roasted Butternut Squash
Common Mistakes to Avoid
When making roasted butternut squash, avoid overcrowding the baking sheets. This can lead to steaming instead of roasting, preventing that lovely caramelization. Additionally, make sure to remove excess liquid that collects at the bottom of the bowl before roasting. This ensures a flavorful, crispy exterior rather than a soggy texture.
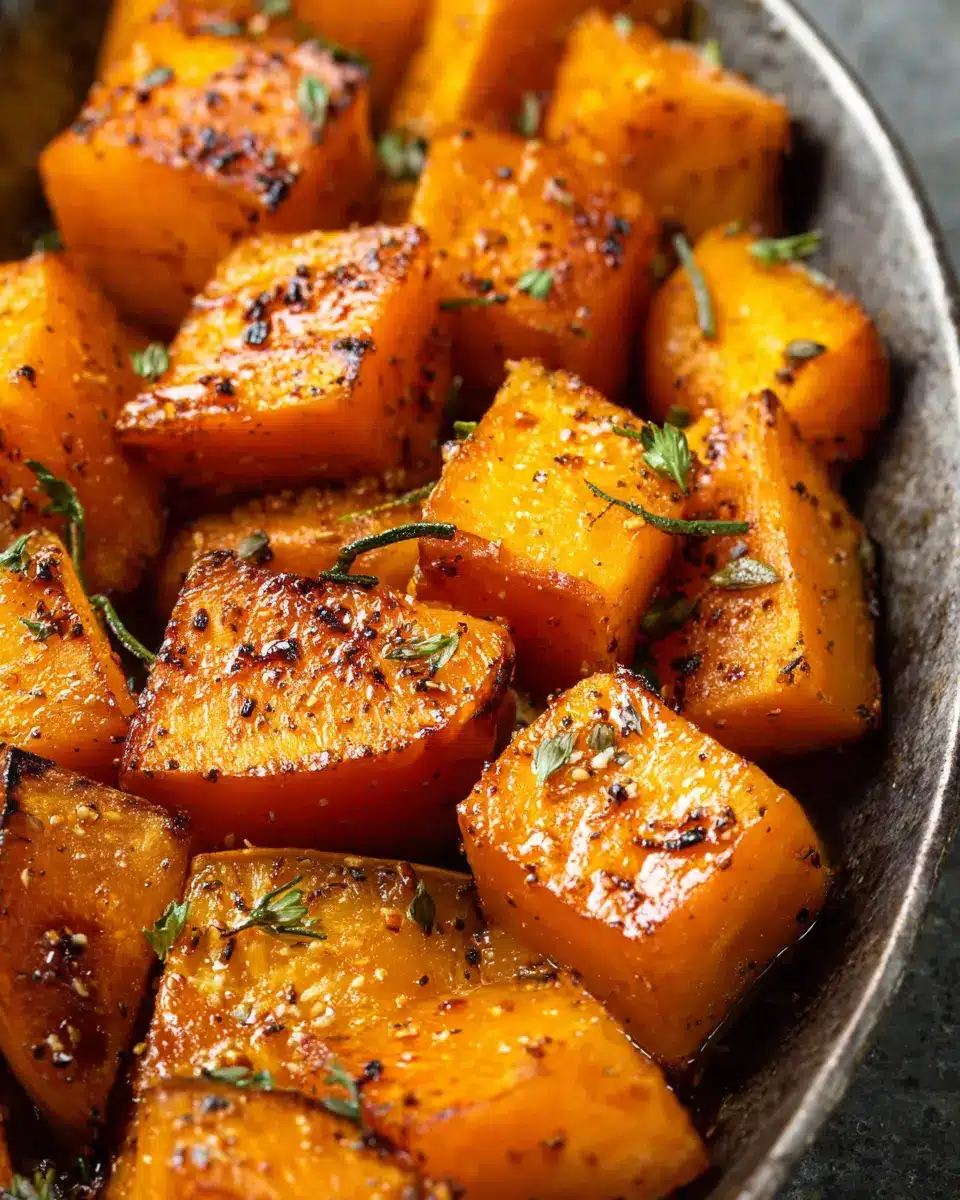
How to Achieve That Perfect Caramelization
To get beautifully caramelized roasted butternut squash, ensure your oven is properly preheated to 400°F. The combination of olive oil and maple syrup not only adds flavor but promotes browning. For best results, turn the squash halfway through roasting and don’t hesitate to adjust cooking time based on your oven's quirks.
By following these tips, you'll elevate your butternut squash dish to a whole new level! For more inspiration, check out this article on The Kitchn for additional roasting techniques.
Serving suggestions for Roasted Butternut Squash
Pairing ideas for a wholesome meal
Roasted butternut squash shines as a versatile side dish. Pair it with protein sources like grilled chicken or turkey bacon for a satiating meal. It also complements leafy greens beautifully—consider tossing it in a warm kale salad with walnuts and feta for a delightful crunch. For a comforting twist, serve it alongside beef stew for a hearty winter dish.
Fun ways to incorporate into your meal prep
Make your week smoother by roasting a big batch of butternut squash ahead of time. It’s fantastic in grain bowls, adding a rich flavor to quinoa or farro. Blend it into smoothies for a natural sweetness or stir it into soups to elevate their taste and nutrition. With its sweet and savory profile, your meal prep will never feel dull!
Explore more pairing ideas with roasted vegetables and get inspired with these meal prep tips.
Time Breakdown for Roasted Butternut Squash
Preparation Time
It takes just 10 minutes to prep your roasted butternut squash. This includes peeling, seeding, and cubing the squash—simple and quick!
Cooking Time
After you’ve prepped your squash, the cooking process is approximately 30 minutes. This will get you beautifully caramelized cubes, bursting with flavor.
Total Time
In just 40 minutes, you'll have a delightful dish of roasted butternut squash ready to complement any meal. Perfect for busy weeknights or as a tasty addition to your holiday spread!
Additional Tips
Want to dive deeper? Check out how to choose the best butternut squash to enhance your cooking experience! Exploring cooking times for other veggies? Reference this guide for precise cooking. Enjoy your culinary adventure!
Nutritional Facts for Roasted Butternut Squash
Calories
One serving of roasted butternut squash packs approximately 153 calories, making it a deliciously healthy choice for any meal.
Fiber Content
Each serving contains around 4 grams of fiber, contributing to your daily requirements and helping maintain digestive health. Incorporating fiber-rich foods is vital for a balanced diet.
Vitamins & Minerals
Not only is roasted butternut squash tasty, but it's also loaded with nutrients! A single serving offers:
- Vitamin A: 19,946 IU (excellent for vision and skin health)
- Vitamin C: 39 mg (supports your immune system)
- Calcium: 102 mg
- Iron: 1 mg
For a more detailed nutrition breakdown, refer to Healthline. Enjoy this nutritious side dish, and feel good about what you're eating!
FAQs about Roasted Butternut Squash
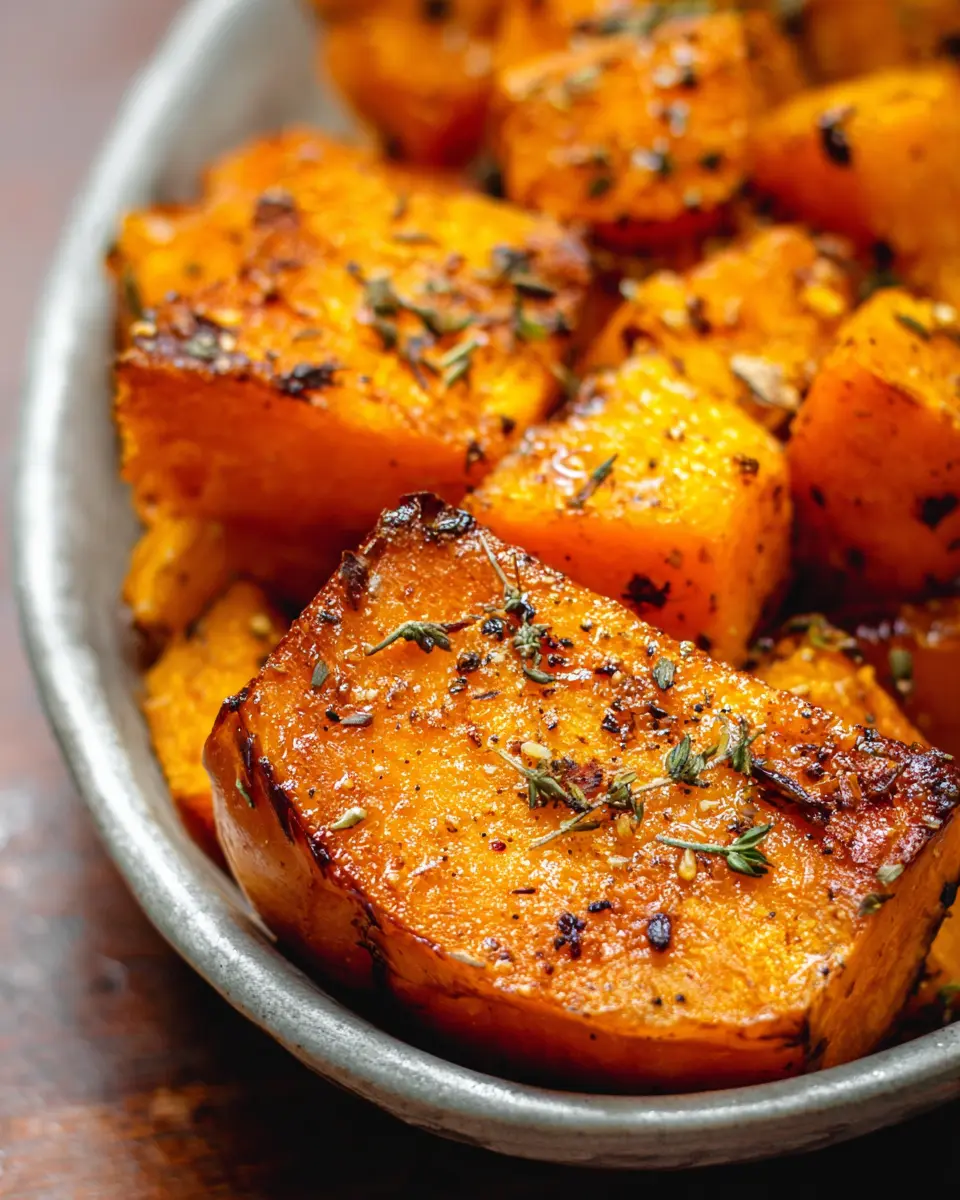
How can I make my squash extra crispy?
To achieve perfectly crispy roasted butternut squash, there are a few key tips to follow. First, ensure that your squash cubes are evenly sized for consistent cooking. Toss them with enough olive oil to coat but not drown; about 1.5 tablespoons usually suffices. Spreading them out in a single layer on a baking sheet is crucial. For an extra crunch, try roasting toward the end at a higher temperature. Finally, flipping the cubes halfway through cooking will allow all sides to crisp up beautifully.
What’s the best way to store leftovers?
If you find yourself with extra roasted butternut squash, simply store it in an airtight container in the refrigerator. It should stay fresh for about 4 to 5 days. When it’s time to enjoy the leftovers, reheating them gently in a skillet or the oven will help in preserving their texture.
Can I freeze roasted butternut squash?
Yes! Freezing roasted butternut squash is a great way to prolong its life. Spread the cooled squash on a baking sheet to freeze it individually, then transfer it to a freezer-safe container once frozen. You can enjoy this for up to 3 months. Just remember, while the flavor remains, the texture may be slightly softer once thawed, which is still perfect for soups or casseroles! For more tips, check out this resource from USDA on safe storage practices.
Conclusion on Roasted Butternut Squash
Emphasizing the joy of homemade food
Creating roasted butternut squash in your home kitchen not only fills your space with delicious aromas but also brings the joy of cooking back to the forefront. Homemade meals are a delightful way to connect with loved ones while nourishing your body with wholesome ingredients.
Encouragement to try the recipe and get creative
Don't hesitate to give this simple and satisfying recipe a try! Experiment with different spices or toppings to make it your own. You'll discover the joys of versatility in cooking while impressing yourself and your friends with every bite of your roasted butternut squash.
Roasted Butternut Squash
Equipment
- Oven
- Baking Sheets
- large bowl
- spatula
Ingredients
- 1 large butternut squash about 3 pounds, peeled, seeded, and cut into 1-inch cubes
- 1.5 tablespoons extra-virgin olive oil
- 1.5 tablespoons pure maple syrup
- 1.75 teaspoons kosher salt do not use table salt, or the recipe will be too salty
- 0.75 teaspoon ground cinnamon
- 0.5 teaspoon ground black pepper
- 1 tablespoon chopped fresh rosemary
Instructions
- Position racks in the upper and lower thirds of your oven and preheat the oven to 400 degrees F. Generously coat two baking sheets with nonstick spray.
- Place the squash cubes in a large bowl. Drizzle with the olive oil and maple syrup, then sprinkle the salt, cinnamon, and pepper over the top. Toss to coat, then divide between the two baking sheets, discarding any excess liquid that collects at the bottom of the bowl.
- Spread the cubes in a single layer on the prepared baking sheets, taking care that they do not overlap.
- Place the pans in the upper and lower thirds of your oven and bake for 15 minutes. Remove the pans from the oven, turn the cubes with a spatula, then return to the oven, switching the pans’ positions on the upper and lower racks.
- Continue baking until the squash is tender, about 10 to 15 additional minutes. Remove from the oven and sprinkle the rosemary over the top. Serve warm.


Leave a Reply