
Introduction to the Cheesecake Toppings Board
Creating a cheesecake toppings board is not just about indulging in dessert; it’s also a charming way to entertain friends or a delightful treat for yourself after a long week. For young professionals juggling work and social life, this concept is particularly appealing. Imagine inviting friends over for a casual get-together, where everyone can customize their cheesecake with their favorite toppings, all beautifully displayed on a board.
The versatility of a toppings board offers something for everyone! You can include fresh fruits like strawberries and blueberries for a lighter option, or opt for a more decadent twist with caramel sauce and mini Reese's Peanut Butter Cups. It's perfect for casual dining or even elevating a work-from-home day.
Plus, it’s a fantastic conversation starter. Sharing flavors, trying new combinations, and even engaging in friendly topping competitions can turn an ordinary evening into something special. If you want to impress without the stress, a cheesecake toppings board is your go-to solution.
For additional ideas on how to enhance your presentation, check out expert tips from Food Network and make your gatherings memorable!
Ingredients for the Cheesecake Toppings Board
Creating a cheesecake toppings board is a delightful way to elevate your dessert experience. With an array of sweet toppings, you can make each slice of cheesecake uniquely flavorful. Here’s what you’ll need!
Must-Have Ingredients for Your Cheesecake Toppings Board
To assemble a fantastic cheesecake toppings board, start with these essential ingredients:
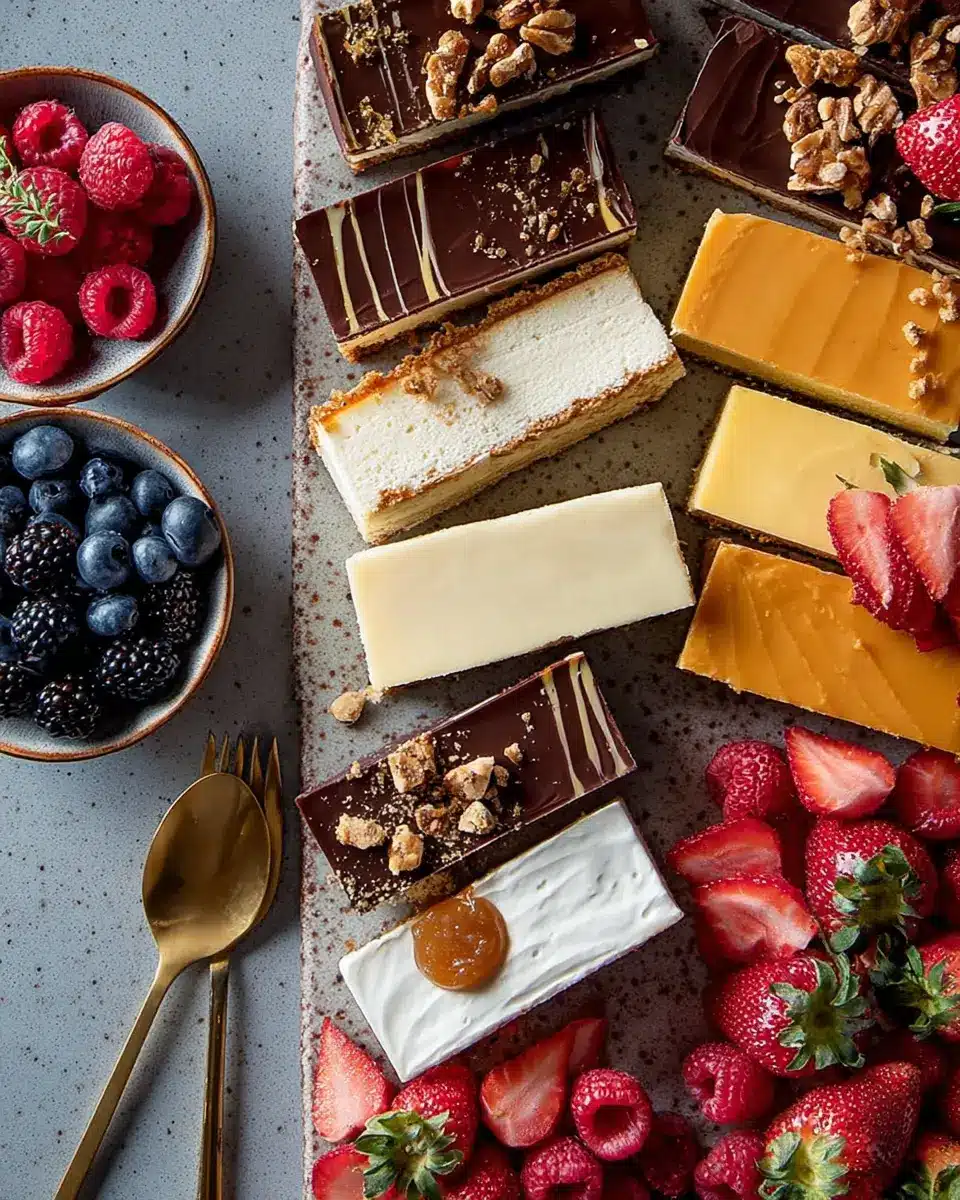
- Fruits: Fresh strawberries, blueberries, blackberries, and raspberries provide vibrant colors and juicy flavors.
- Nuts: Pecan halves introduce a crunchy texture that pairs perfectly with creamy cheesecake.
- Sauces: Caramel and chocolate sauces are must-haves for drizzling on each slice!
- Sweets: Mini Oreos and Mini Reese’s Peanut Butter Cups add fun and nostalgic bites.
- Whipped Cream: This fluffy topping is perfect for dolloping on top.
Optional Add-ins to Elevate Your Board
For those looking to impress even further, consider these optional additions:
- Jams: Cherry compote and both blueberry and strawberry jams bring extra sweetness and a fruity finish.
- Graham Crackers: Quartered crackers offer great textural contrast and can act as a base for toppings.
- Chocolate Shavings or Sprinkles: A final touch of chocolate can elevate visual appeal, making your board truly stunning.
Feel free to mix and match! Have you tried any fun combinations? Let me know in the comments!
Step-by-Step Preparation for the Cheesecake Toppings Board
Creating a cheesecake toppings board is not only a fun way to impress your friends and family, but it also opens avenues for creativity in your dessert presentations! Follow these straightforward steps to prepare your board, which will surely be a crowd-pleaser.
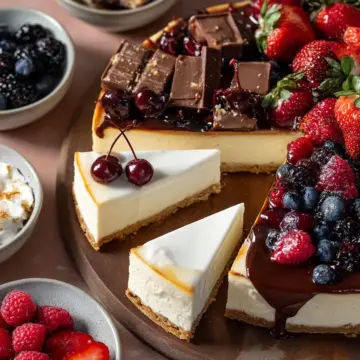
Gather Your Cheesecake Base
The first step in crafting your cheesecake toppings board is to select your cheesecake base. Whether you opt for a store-bought cheesecake or make a homemade one, ensure it’s set and chilled for the best results. A traditional New York-style cheesecake is always a hit, but feel free to explore flavors like chocolate or strawberry for a twist. Place the cheesecake in the center of your serving board to establish a focal point.
Organize Your Toppings
Now that your cheesecake base is ready, it's time to sort out the toppings! Gather an array of colorful fruits, nuts, and candy options to elevate your dessert experience. Some delightful choices include:
- Fruits: Strawberries, blueberries, blackberries, and raspberries are not only delicious but visually appealing.
- Nuts: Pecan halves add a nice crunch and complement the creaminess of the cheesecake.
- Sweets: Mini Oreos and Reese's Peanut Butter Cups bring an extra layer of enjoyment.
Consider arranging these toppings in small bowls or on the board in visually pleasing clusters.
Prepare Your Sauces
Sauces can be the cherry on top of your toppings board! Get your sauces ready by pouring caramel and chocolate sauce into separate small bowls. You might also want to prepare fruity jams like cherry, blueberry, and strawberry for added flavor variety. Keep them on the board in eye-catching bowls to encourage people to mix and match with their cheesecakes.
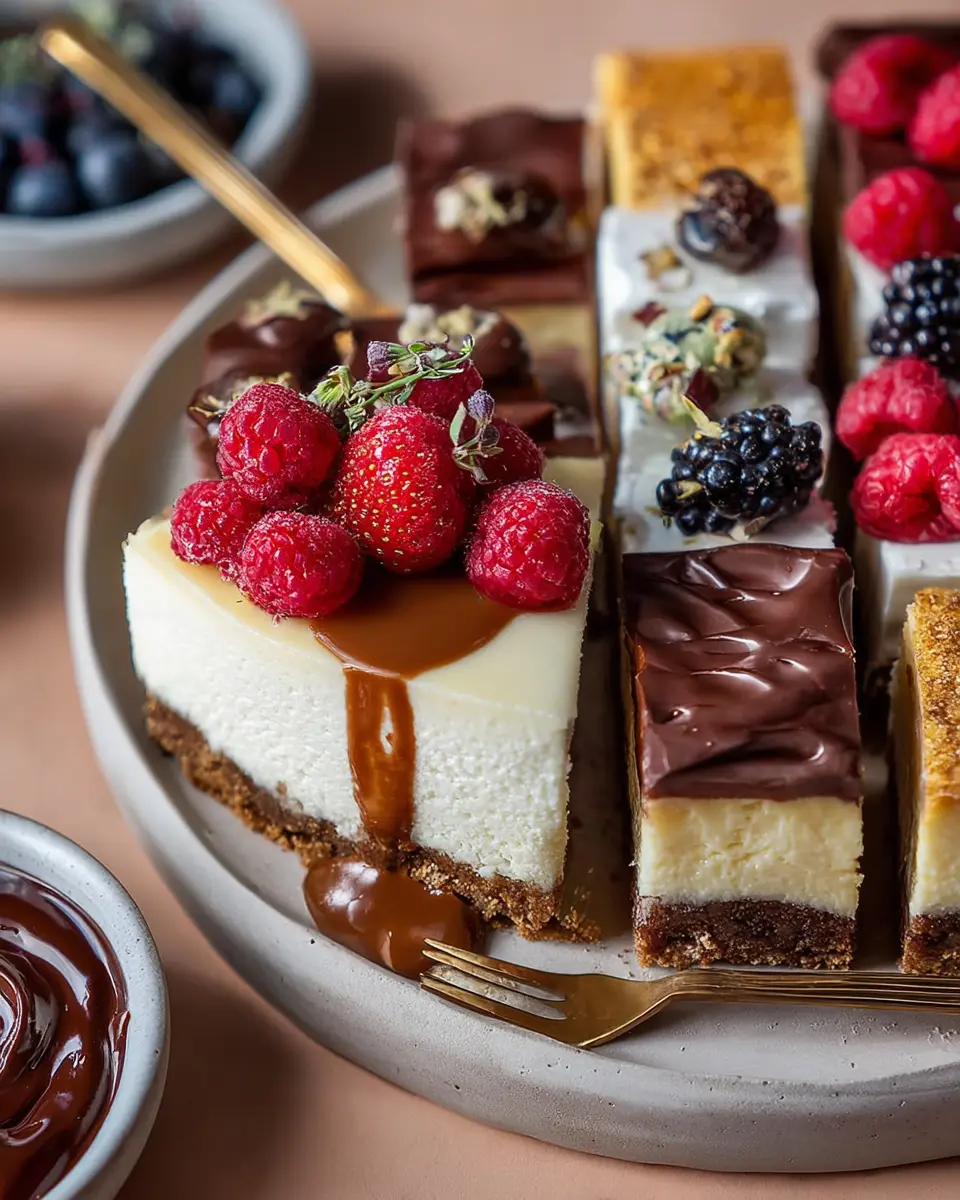
Assemble the Toppings Board
With everything organized, it's time to assemble the cheesecake toppings board! Start by placing your cheesecake at the center, then strategically arrange the bowls of sauces and toppings around it. Create a visually striking layout by alternating colors and shapes, making sure to balance the arrangement for visual appeal. For instance, cluster the berries on one side and the crunchy elements like graham crackers and pecans on the opposite side.
Final Touches for Presentation
To give your cheesecake toppings board that final flourish, consider garnishing with a sprinkle of powdered sugar on the cheesecake, or maybe even some fresh mint leaves. A vibrant and well-arranged board not only excites the senses but makes your dessert inviting.
Now you’re ready to serve and delight your guests! With these simple steps, your toppings board will not only have delicious flavors but also grab attention for its playful and beautiful presentation. Happy hosting!
For more inspiring dessert ideas, you might find resources from sites like Food Network or Martha Stewart helpful for additional inspiration and creativity!
Variations on the Cheesecake Toppings Board
Seasonal Toppings for Different Occasions
Transform your cheesecake toppings board with seasonal flavors that reflect the time of year. In spring, think fresh citrus fruits and zesty lemon curd. For summer, opt for tropical toppings like mango and coconut shavings. Autumn calls for warm spices—consider pumpkin spice or caramel apple. Winter can feature peppermint candies and rich dark chocolate. By tailoring your toppings to the season, you create a delightful experience for your guests that celebrates the flavors of each time of year.
Themed Cheesecake Toppings Boards
Elevate your dessert game by creating themed cheesecake toppings boards. For a movie night, consider popcorn, candy bars, and indulgent sauces. If hosting a birthday celebration, personalize the board with favorite toppings of the guest of honor or even colors that match the party. Seasonal holidays offer great opportunities too—think red and green toppings for Christmas or pastel colors for Easter. With a little creativity, your cheesecake toppings board can be the star of any gathering, sparking joy and deliciousness!
Cooking Tips and Notes for the Cheesecake Toppings Board
How to Store Leftovers
To keep your delicious cheesecake toppings board fresh for later enjoyment, store each topping in separate airtight containers in the refrigerator. This not only preserves flavors but also prevents ingredients from mixing. If you have leftover cheesecake, wrap it tightly in plastic wrap or place it in a sealed container. Remember, the toppings will taste best within a few days!
Best Practices for Presentation
When creating your cheesecake toppings board, consider balancing colors and textures. Arrange fruits, sauces, and snacks in visually appealing clusters. A good tip is to vary heights by using small bowls or ramekins, which adds dimension. For an inviting touch, use rustic serving boards or platters. Explore more presentation tips on sites like Food52 for creative inspiration!

Serving Suggestions for the Cheesecake Toppings Board
Pairing Suggestions for Beverages
To elevate your cheesecake toppings board experience, consider pairing it with refreshing beverages. Sparkling water infused with citrus or berries complements the fruity toppings beautifully. For something richer, a creamy vanilla latte can enhance the dessert's flavors, creating a delightful balance. If you're hosting a brunch, try serving it alongside a smooth chai tea for a cozy touch.
Ideal Occasions for Serving
This versatile cheesecake toppings board is perfect for a variety of gatherings! Whether it's a festive holiday celebration, a casual weekend brunch, or a laid-back movie night with friends, the interactive nature of this board invites guests to customize their dessert. It's also a great centerpiece for birthdays or baby showers, making it a sweet addition to any special occasion. The options are endless—just have fun with it!
For more inspiration on serving ideas, check out Food Network’s guide to dessert boards.
Time Breakdown for the Cheesecake Toppings Board
Preparation Time
Getting everything ready for your cheesecake toppings board will take about 15 minutes. This involves washing fruits, measuring sauces, and arranging small bowls for your delightful toppings.
Assembly Time
Assembling the board is a quick and enjoyable process, roughly taking another 10–15 minutes. You'll love how easy it is to combine vibrant colors and textures!
Total Time
In total, you’re looking at around 30 minutes to create a stunning and delicious cheesecake toppings board. Perfect for impressing guests or indulging in a sweet treat at home!
For more tips on entertaining and decorating your board, check out the Food Network for inspiration.
Nutritional Facts for the Cheesecake Toppings Board
Calories per Serving
Each serving of your cheesecake toppings board can range between 250-350 calories, depending on the toppings chosen. Opting for more fruit and less sauce can keep this treat on the lighter side.
Sugar Content
With the combination of jams, sauces, and fruits, sugar content may hit 20-35 grams per serving. It’s a sweet indulgence, but you can manage it by using less jam or opting for fresh fruit!
Protein Breakdown
You can expect about 5-8 grams of protein per serving, mainly from the cheesecake and whipped cream. For a protein boost, consider adding nuts like pecans to your board.
For more insights on balanced eating, you can check out the USDA’s dietary guidelines to see how you can enjoy this delightful dessert while keeping health in mind!
FAQs about the Cheesecake Toppings Board
How do I make a cheesecake from scratch?
Making a cheesecake from scratch involves some key ingredients: cream cheese, sugar, eggs, vanilla extract, and a graham cracker crust. Start by preheating your oven to 325°F (160°C). Mix softened cream cheese with sugar until smooth, then blend in eggs one at a time and add vanilla. Pour this mixture into your prepared graham cracker crust and bake for about 50-60 minutes, allowing it to cool before refrigerating. For more detailed guidance, check out this comprehensive cheesecake recipe.
What are some alternative toppings for a cheesecake?
While your cheesecake toppings board can feature classic options like fruit and sauces, consider mixing things up! Here are some alternatives:
- Chopped nuts (like walnuts or pecans)
- Coconut flakes
- Crushed cookies or candies
- Fresh herbs like mint
- A drizzle of flavored syrups (like coffee or hazelnut)
Can I customize my board for dietary restrictions?
Absolutely! The cheesecake toppings board can easily cater to various dietary needs. Use gluten-free graham crackers, dairy-free cream cheese, and incorporate a selection of toppings for those avoiding sugar or nuts. If you're looking for more ideas, resources like Nutrition.gov offer tailored recipes for different dietary preferences, making it easier to create a delicious spread that everyone can enjoy.
Conclusion on the Cheesecake Toppings Board
Creating a cheesecake toppings board is a fun and interactive way to elevate your dessert experience. With an array of toppings, from fresh berries to rich sauces, there's something to please everyone’s palate. Enjoy experimenting with flavors and let your creativity shine at your next gathering!
Cheesecake Toppings Board
Ingredients
- 1 cheesecake store-bought or homemade
- 1 cup pecan halves
- 1 cup strawberries halves
- 1 cup blueberries
- 1 cup blackberries
- 1 cup raspberries
- 1 cup cherry compote
- 1 cup blueberry jam
- 1 cup strawberry jam
- 1 cup mini Oreos
- 1 cup mini Reese's Peanut Butter Cups
- 1 cup whipped cream
- 1 cup caramel sauce
- 1 cup chocolate sauce
- 1 cup graham crackers quartered
Instructions
- Place the whipped cream, cherry compote, blueberry jam, and strawberry jam in separate small bowls or ramekins, then add to the center of the board.
- Add the caramel and chocolate sauces to separate small bowls or ramekins and place on opposite corners of the board. Place the Oreos and peanut butter in the other opposing corners.
- Arrange the blackberries around the caramel sauce and the raspberries around the chocolate sauce. Arrange the strawberries and blueberries on either sides of the ramekins in the center of the board.
- Fill in the empty spaces with the graham crackers and pecans.

Leave a Reply